BFF Academy · Pro course Pro course

How to record well

about 16 minutes Lesson 2 of 14 Section 5 of 10

Placing the camera for a side view

The camera does the measuring, so where it sits decides what the algorithm sees. Use a tripod or another secure and stable way of holding the device. Film from either side: the app detects the side it's looking at. A few things to get right before you tap the record button:
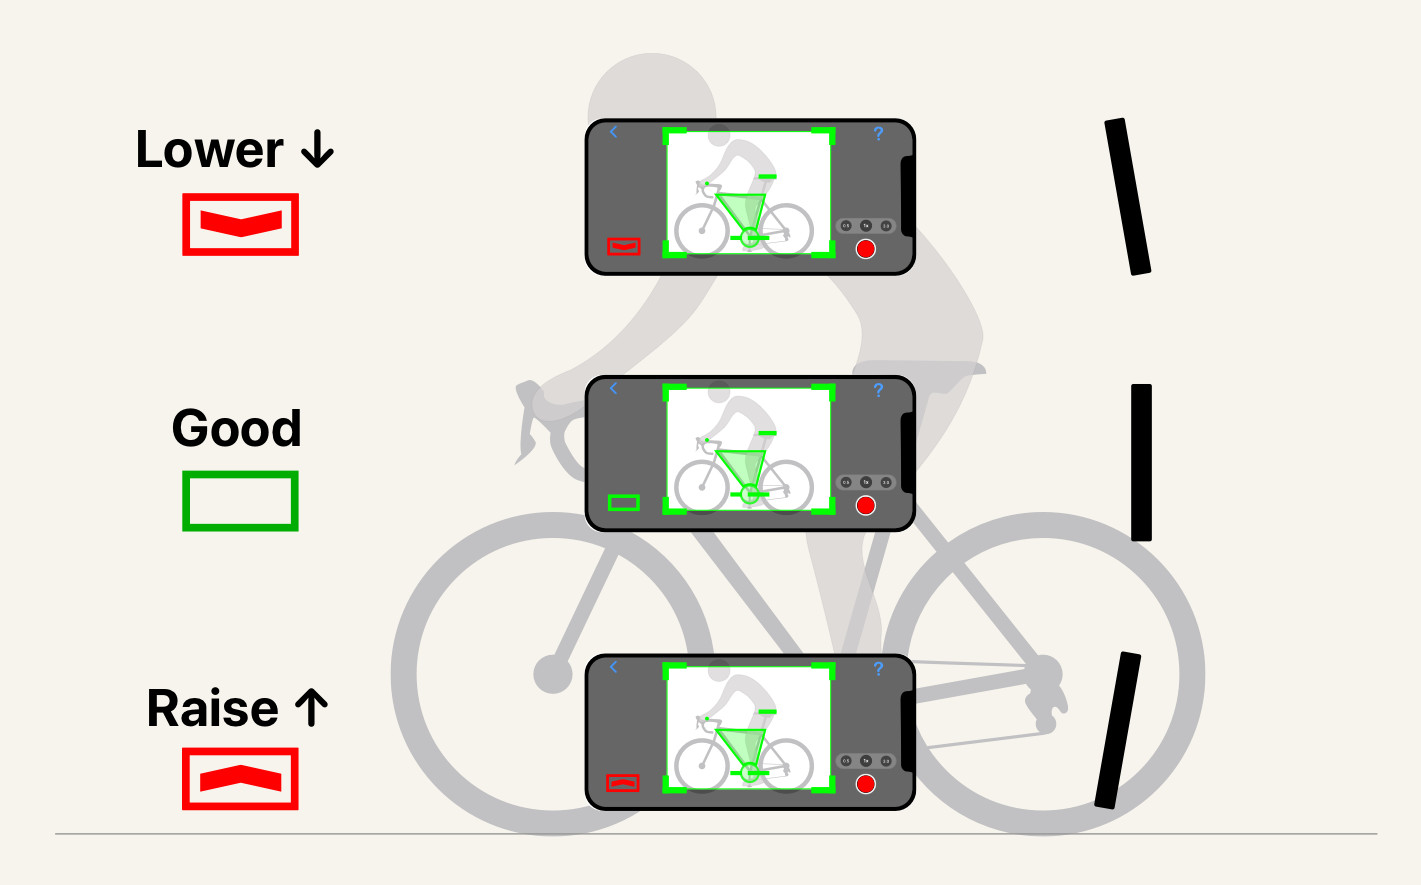
Set the camera at about the height of the bike's top tube. The alignment aid will then help you make sure it has a straight-on level view.
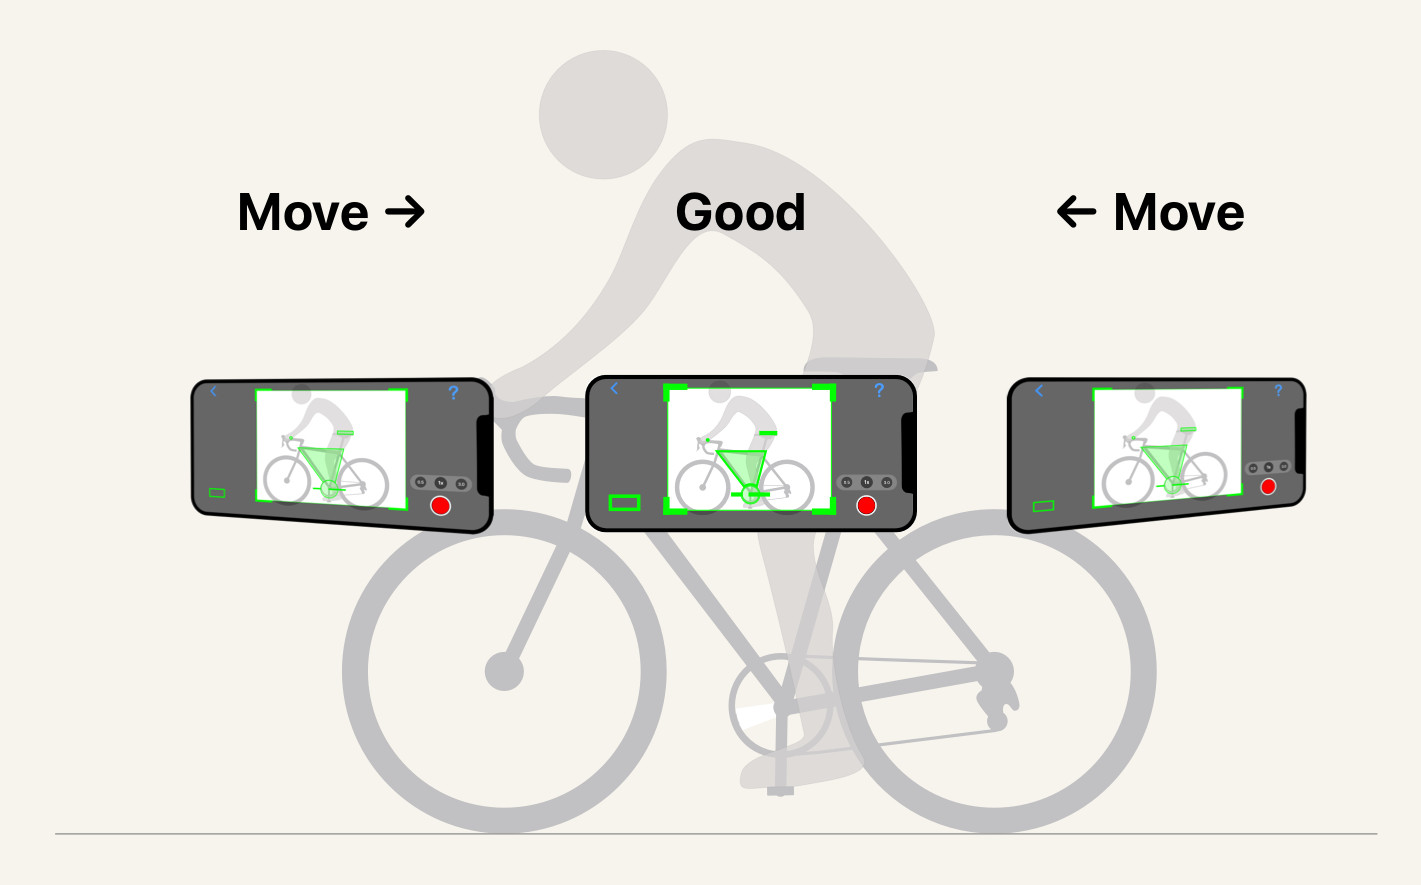
Center the bike in the frame. Slide the camera left or right until the bike sits centered.
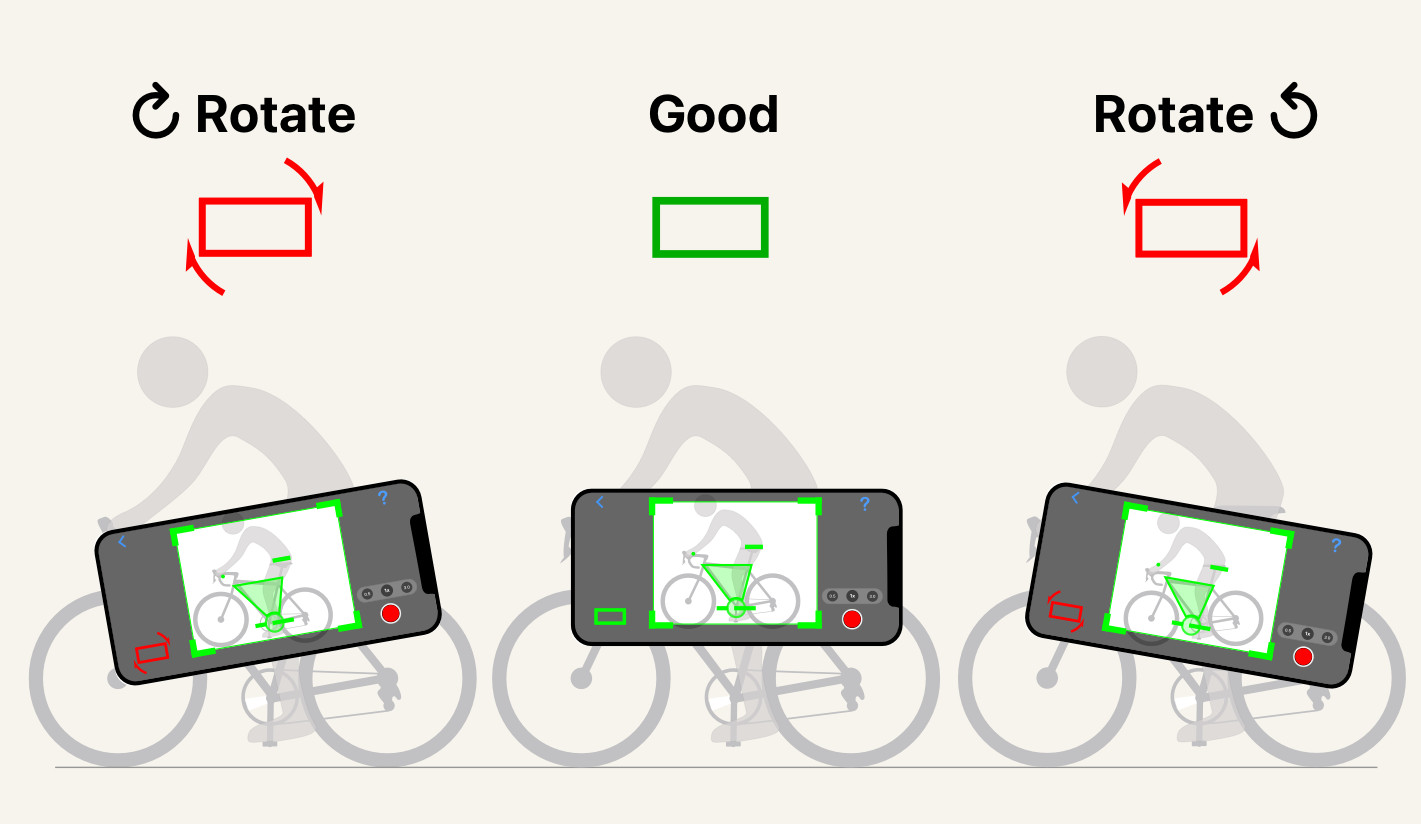
Keep the camera level. The alignment aid will help you confirm it is level.
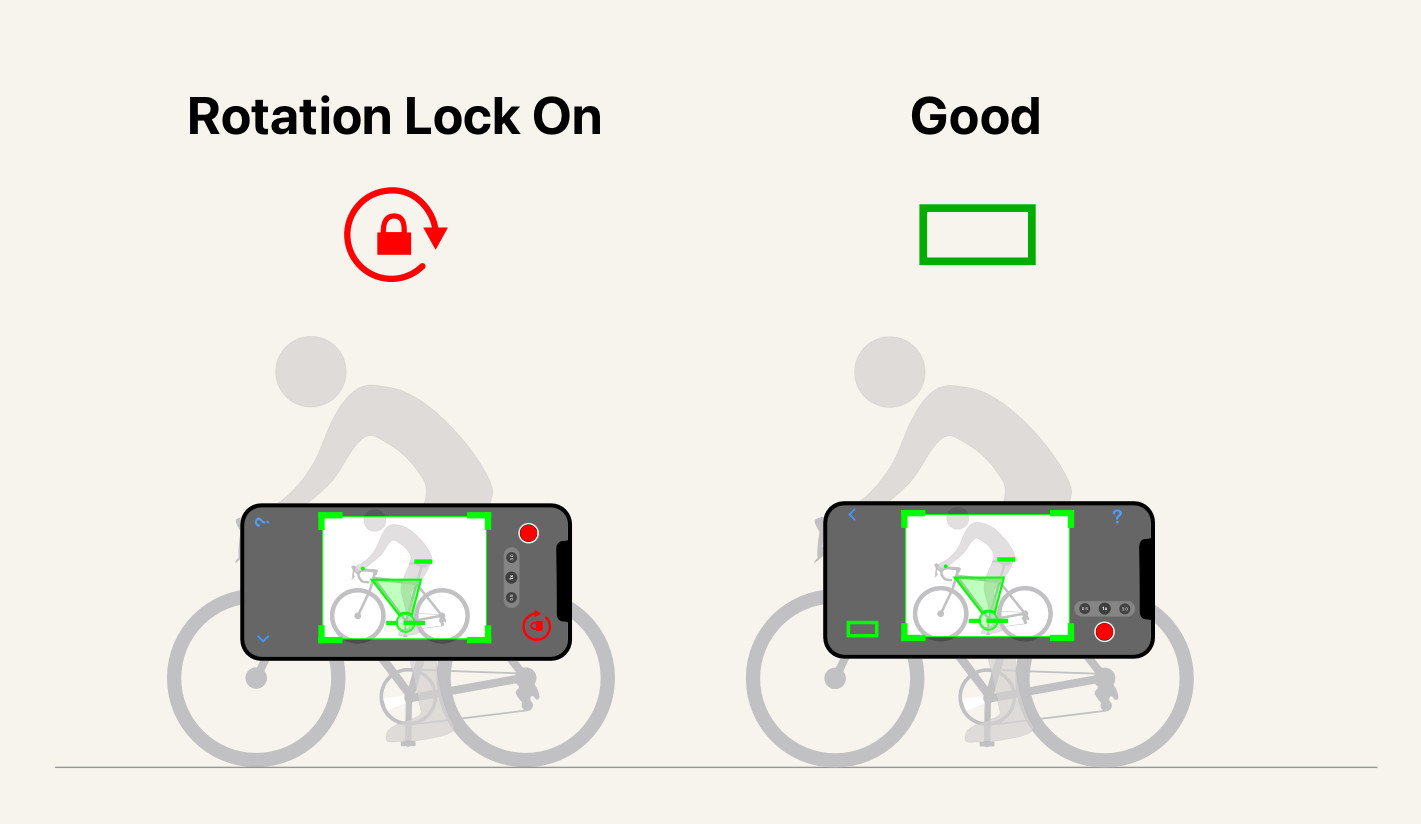
Turn off rotation lock. If the device's rotation lock is on, the app can't orient itself. You can film in portrait or landscape views.

Two more things make a difference:

  • Distance. About 2 to 3 meters (6 to 10 feet) from the bike usually fits the whole bike and rider with room to spare. Use the green bike overlay as a rough guide: line it up with the bike, but it doesn't need to match every part.

Still short of space? On a device with more than one back camera, the 0.5x lens can give you an extra couple feet. The 0.5x lens does bend the picture slightly. That affects distances more than angles, so only use this one when you have to.

Was this section helpful?
Tell us more