
Saddle fore/aft
Making the change
Before you move anything, mark where it started. Take a photo of where the rails sit in the clamp. If the change doesn't feel right, you can go straight back.
- Loosen the saddle clamp bolt or bolts at the top of the seatpost. These hold the saddle to the post; they aren't the seatpost clamp from Lesson 2.
- Slide the saddle forward or back on its rails. Keep it straight, and stay inside the rails' marked range.
- Check that the saddle is level, then retighten to the torque in your bike's manual.
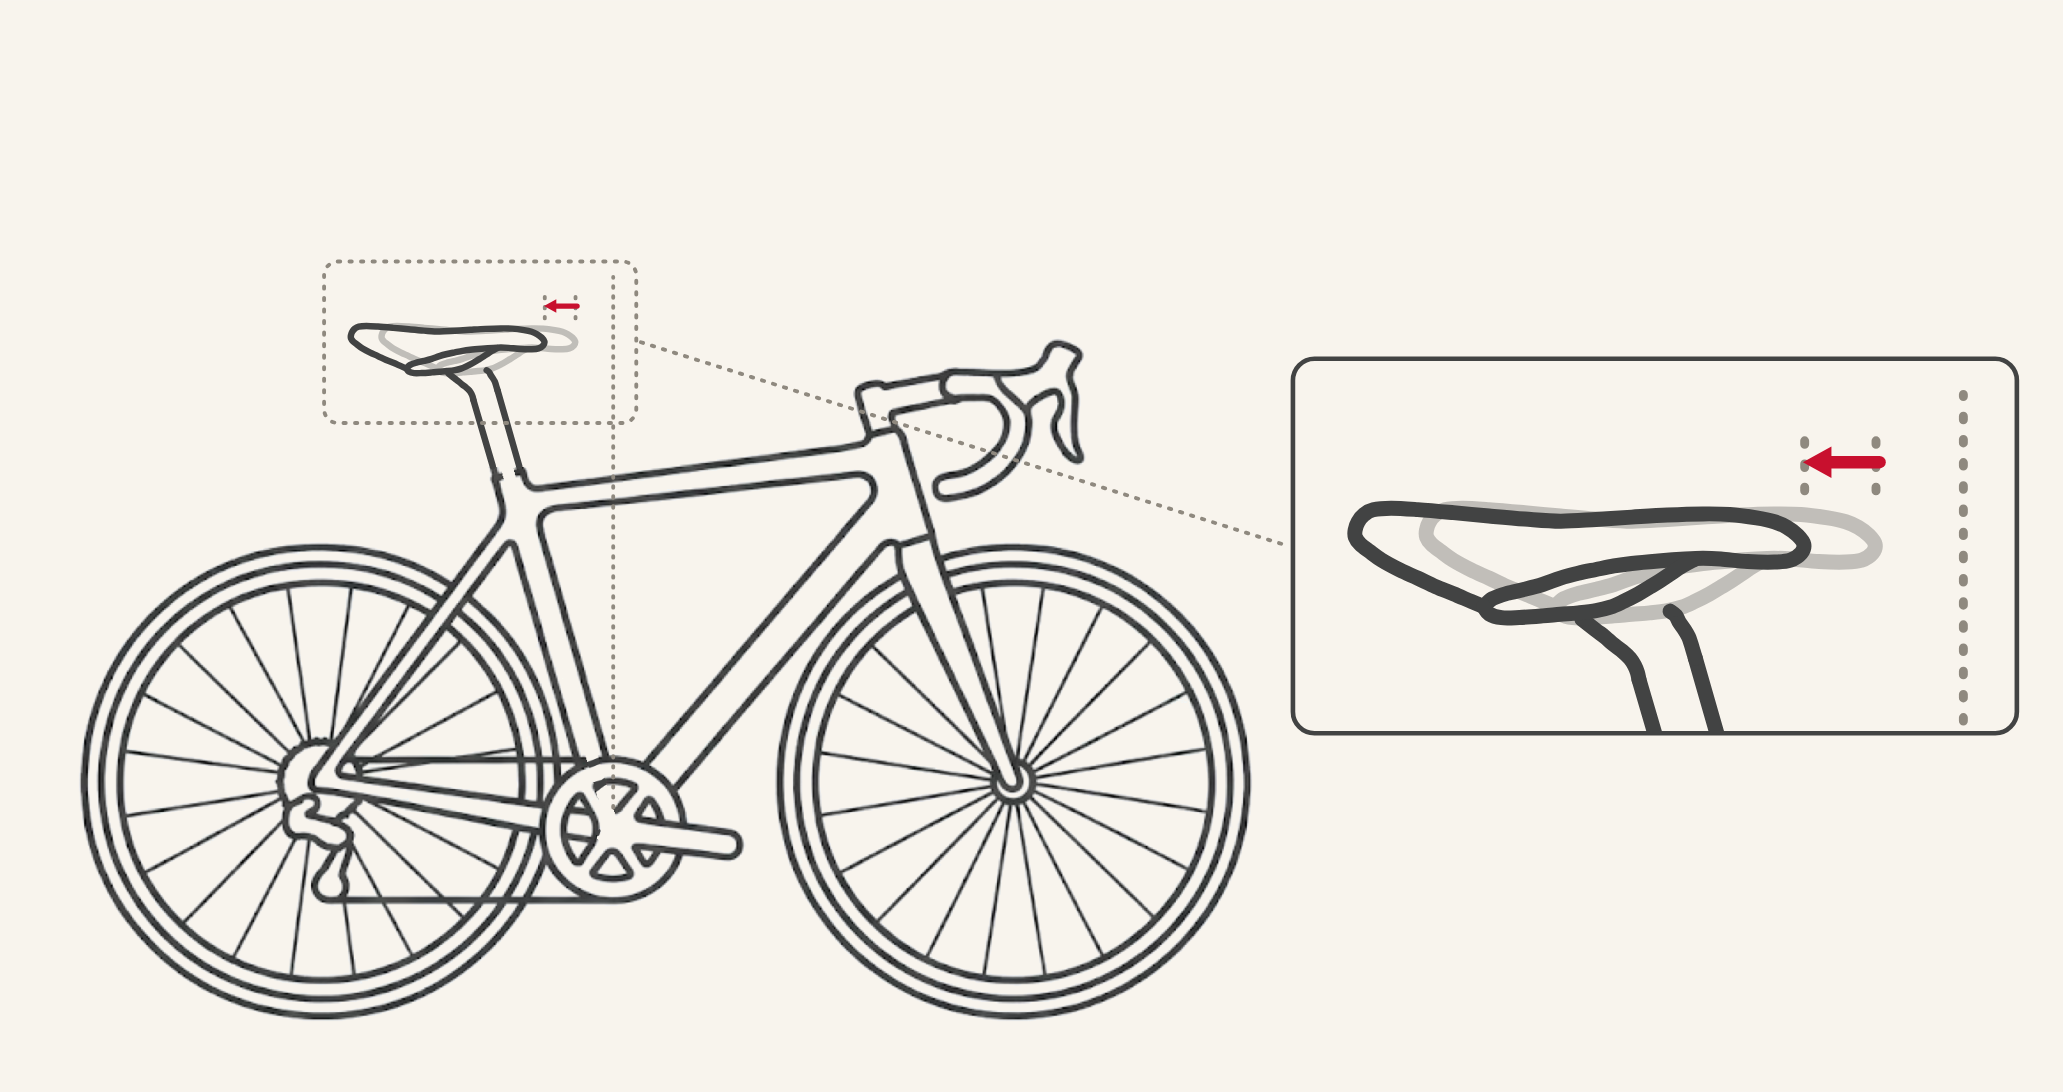
How far to move it: Set your saddle height first, since it changes this reading. Then move in small steps, no more than 10 mm at a time, and record after each one. Small steps help because you shift on the saddle. A ✓ means leave it where it is.
If you run out of rail and the bike feels fine, leave it there. If you need to go further, a bike shop or bike fitter can help.
Note: Sliding the saddle back raises the saddle height slightly, and sliding it forward lowers the saddle height. Check your saddle height on the next recording.
Then record again. Riders shift on the saddle, so a move can partly undo itself. The new recording shows where you really landed.
Name the new recording and note what you changed. On your own recording:
- In the Session, open the recording you took after the change.
- Tap its name at the top of the screen.
- Type a name, like Saddle Moved Back, and what you changed under Notes, then tap Done.