
Saddle height
The EZ Dashboard and the saddle height tab
The EZ Dashboard is where BFF Elite gives you its recommendations. Your side recording opens on it with a tab each for saddle height, saddle fore/aft, and upper body position. This lesson discusses saddle height; the other two come later in this course.
The analysis opens on saddle height, and the app shows your knee angle and foot angle at maximum knee extension in a box beside the video with a chart underneath.
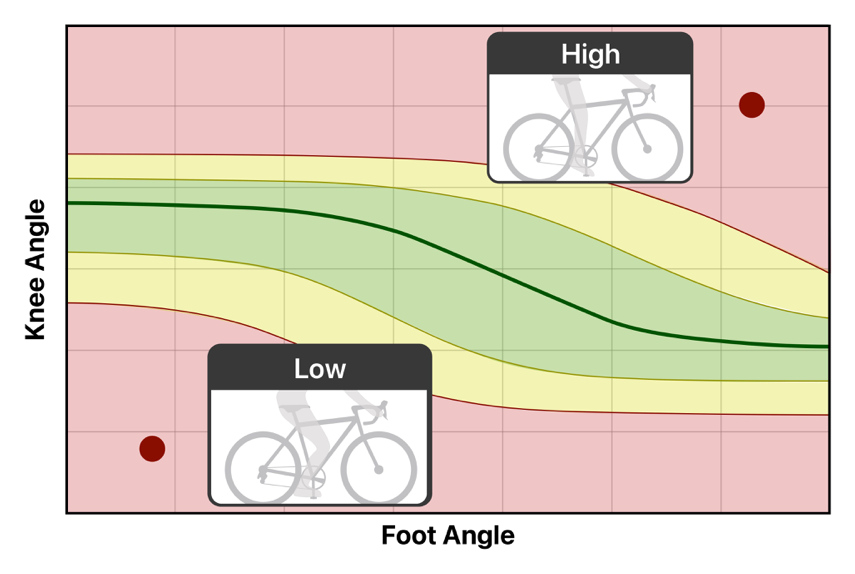
The chart plots your knee angle against your foot angle, so the green window curves across it instead of running straight. Foot angle runs from left to right, and knee angle runs up the side. The window slopes down to the right: the more toe-down your foot, the more bent your knee can be. The dark green line through the window is the target the app moves you toward in order to provide specific guidance. You don't need to land on it exactly: anywhere in the green works.
Seven things to read on the saddle height tab. Tap one to see it on the screenshot:
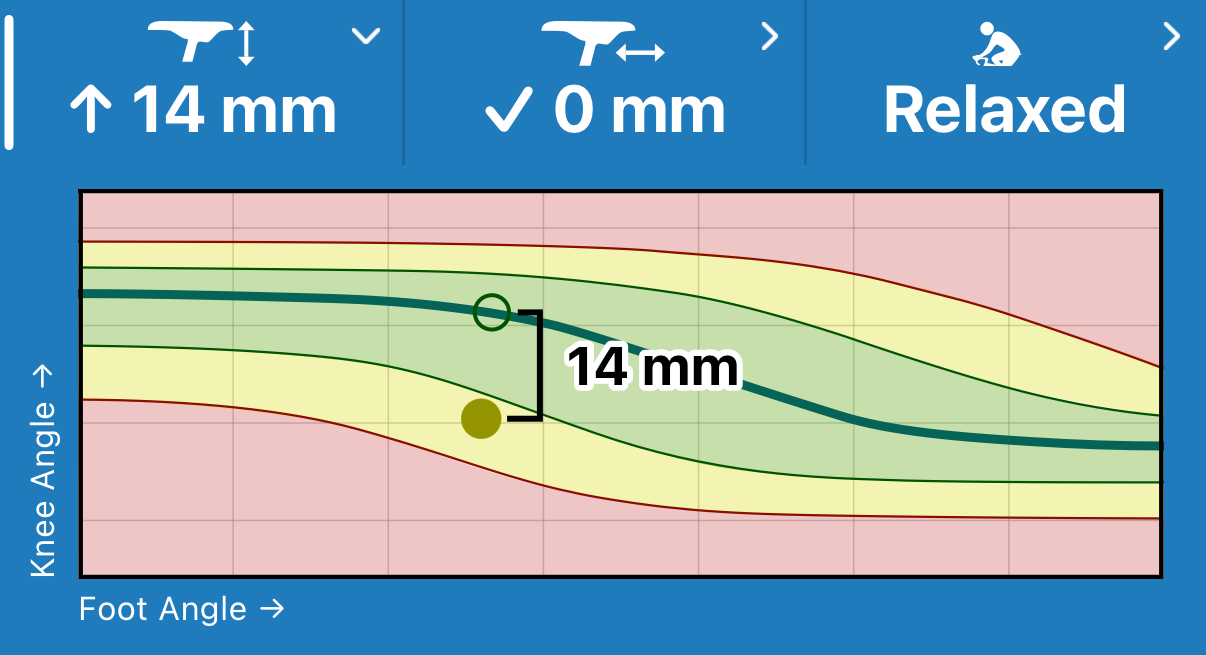
The saddle height chart on the demo session.
- The arrow and the millimeters
- The open circle
- The filled dot
- The dark green line
- Green (your window)
- Yellow
- Red
You can be green and still see an arrow because the color and the arrow tell you different things. The color says whether you're in your window. The arrow says which way to move and how far to get to the dark green line the algorithm is using as a reference point.
In the green, don't chase the last few millimeters. The arrow points you toward the dark green line in your window, where the open circle sits, but the reading may move a few millimeters between recordings and there is no one exact correct saddle height. Change your saddle when you're out of the green or when it doesn't feel right.
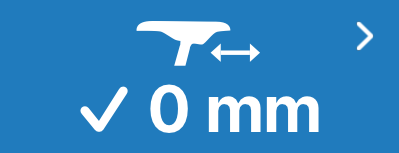
A ✓ instead of an arrow means the suggested change is small: 2 mm or less for saddle height and under 5 mm for saddle fore/aft. On the demo session, the fore/aft tab reads ✓ 0 mm.
After a change, record again. Your filled dot moves with your new height, so you can see where it landed.